Maya and I recently moved into a new house in Decatur that came with a spacious backyard. Over the last couple of months, we’ve been trying to eat healthier, non-processed food and thought we’d grow a garden in our backyard. Off to the side, we found this empty containment fence that was totally overrun with fallen tree limbs, weeds and ivy.
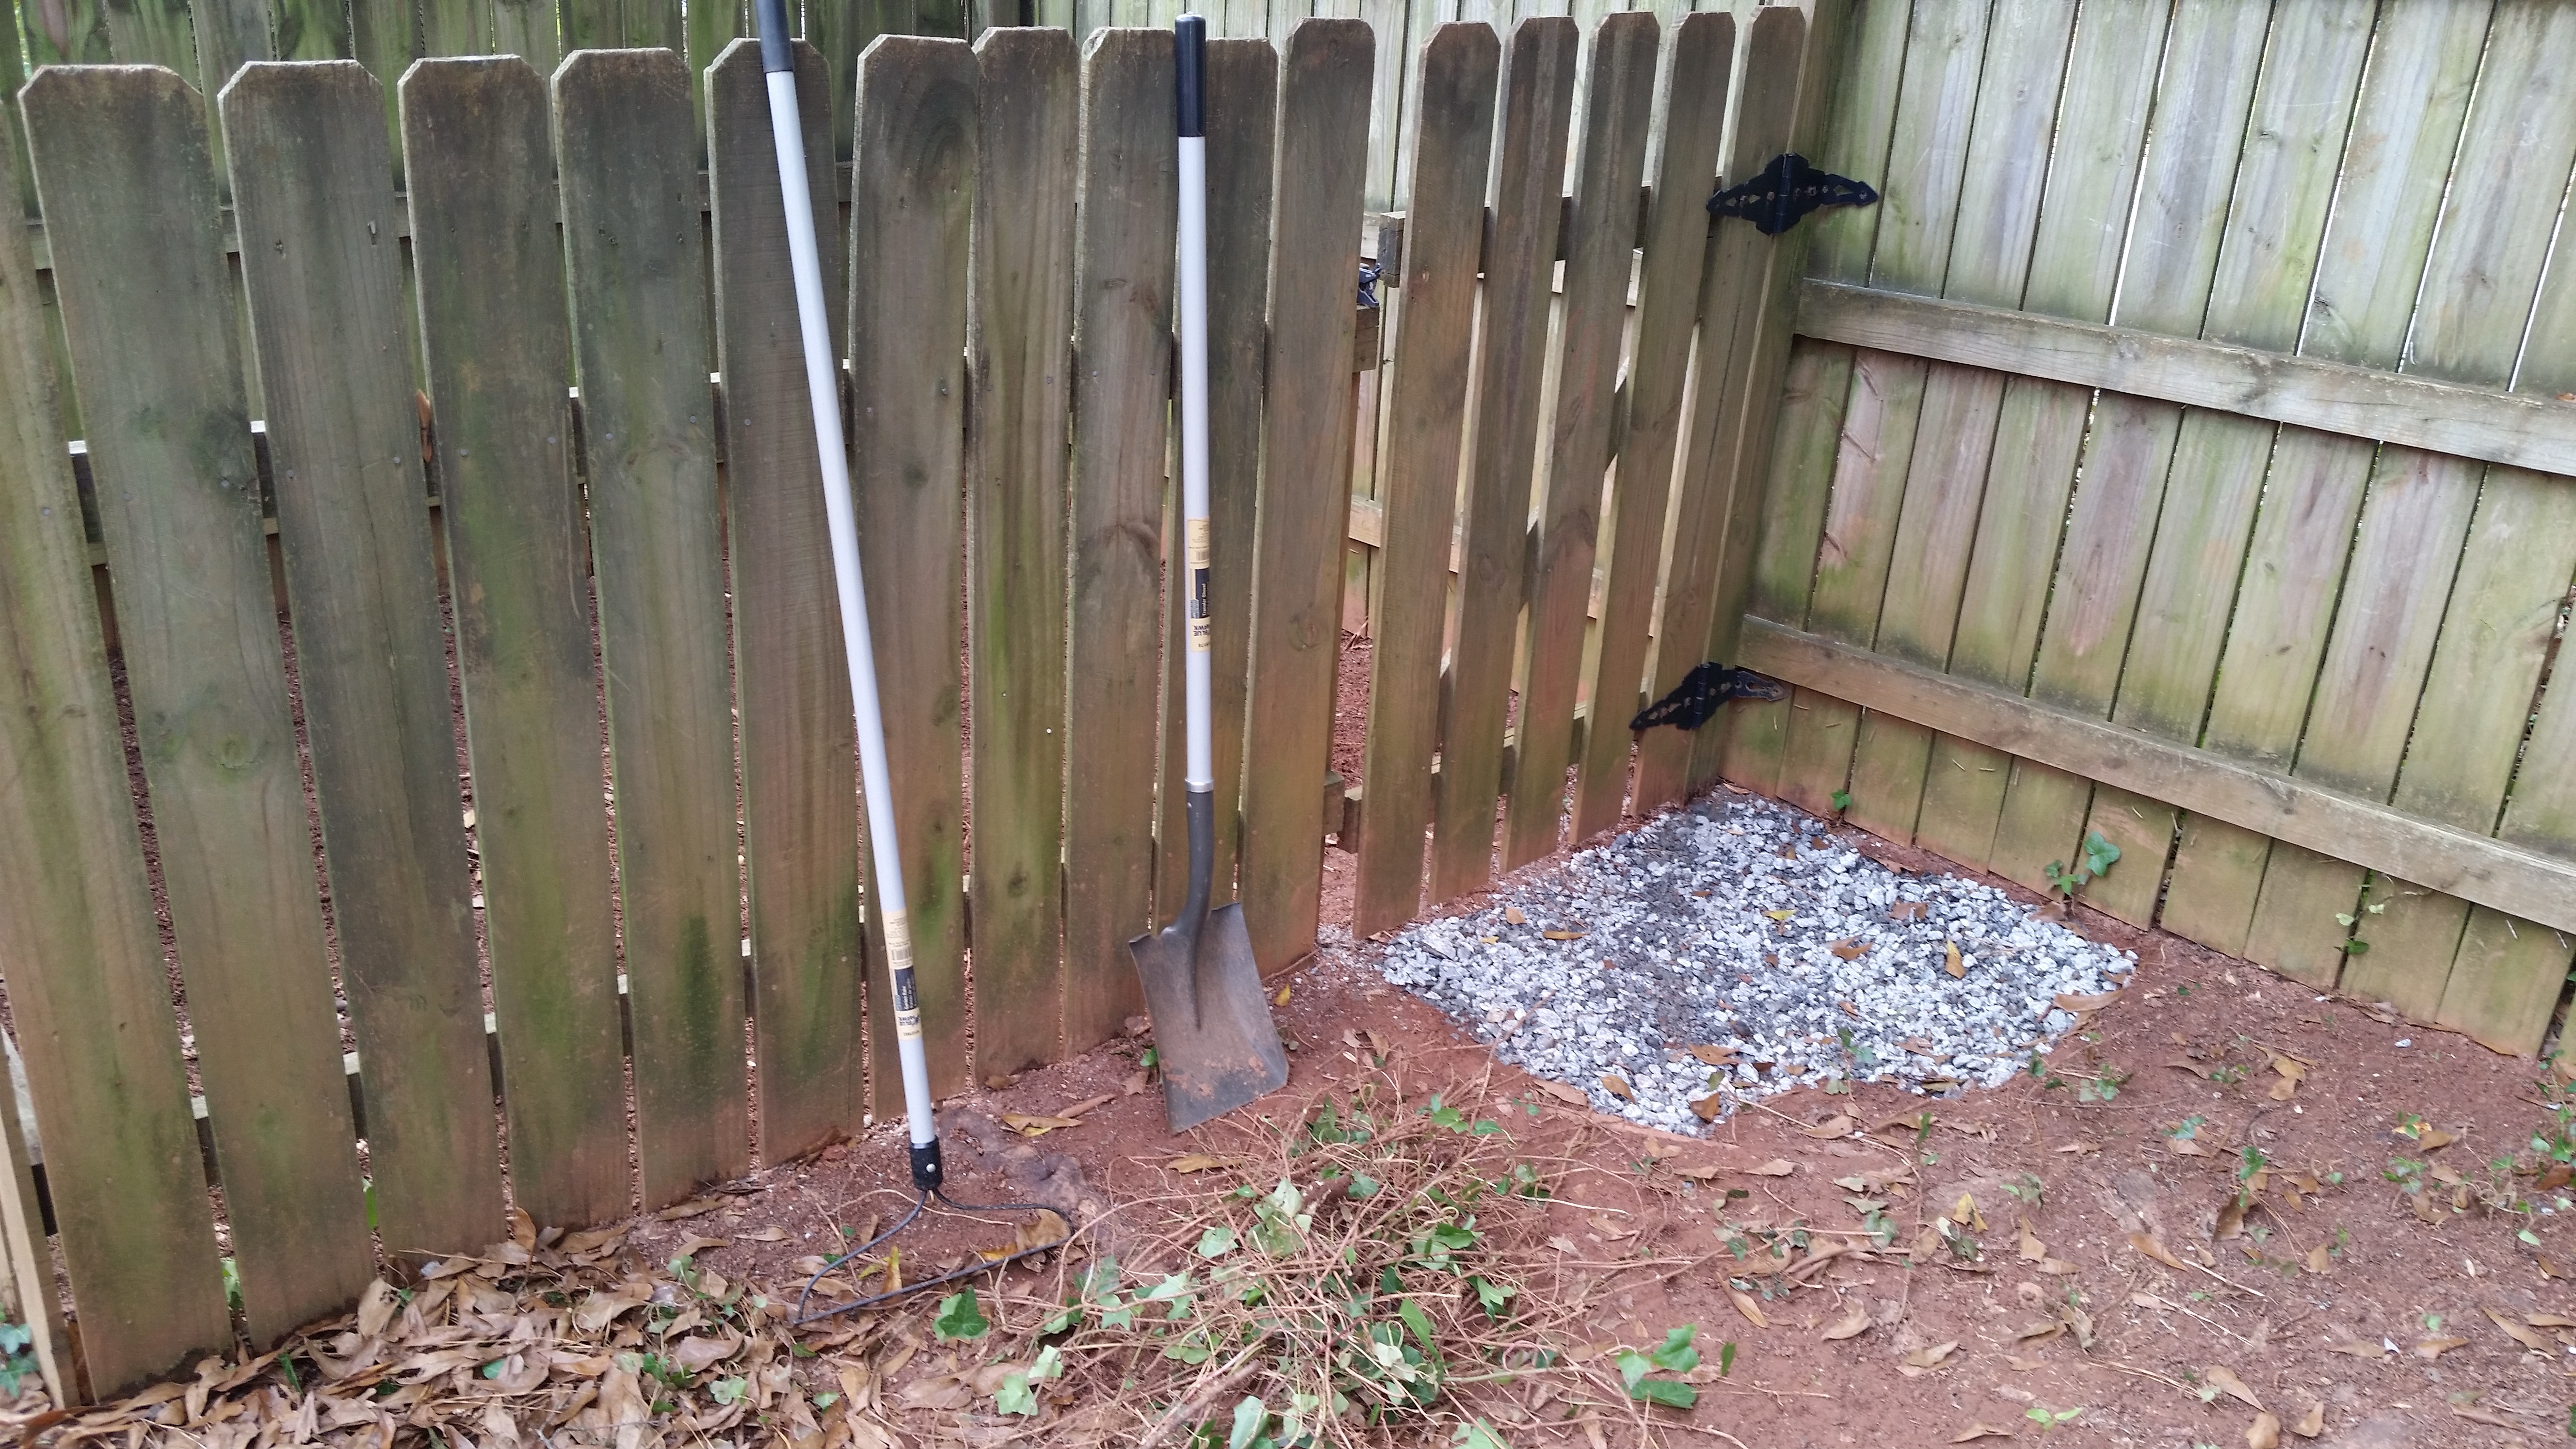
So we decided to build a compost bin inside that fenced off area. The area looked like it hadn’t been touched in months so I had to get in there, remove all the fallen branches, pull up all or most of the ivy that had grown up and rake out the dirt left over. It was back breaking work but the end result will be worth it.
Once I’d cleared out the compost area, I placed a gravel pit for walking in front of the gate. I dug about a 2ft x 2ft, inch deep hole, filled it with paver gravel, then put drainage stone on top of that. I wanted something nice to walk on as you entered the composting area and it also allowed more room for the fence door to open.

Items Needed for Compost Bin:
4 4ft stakes (wood or metal)
Fencing (chicken wire or fencing of your choice)
Rubber Mallet and Hammer
Nails
Tarp
Level
Cable Ties

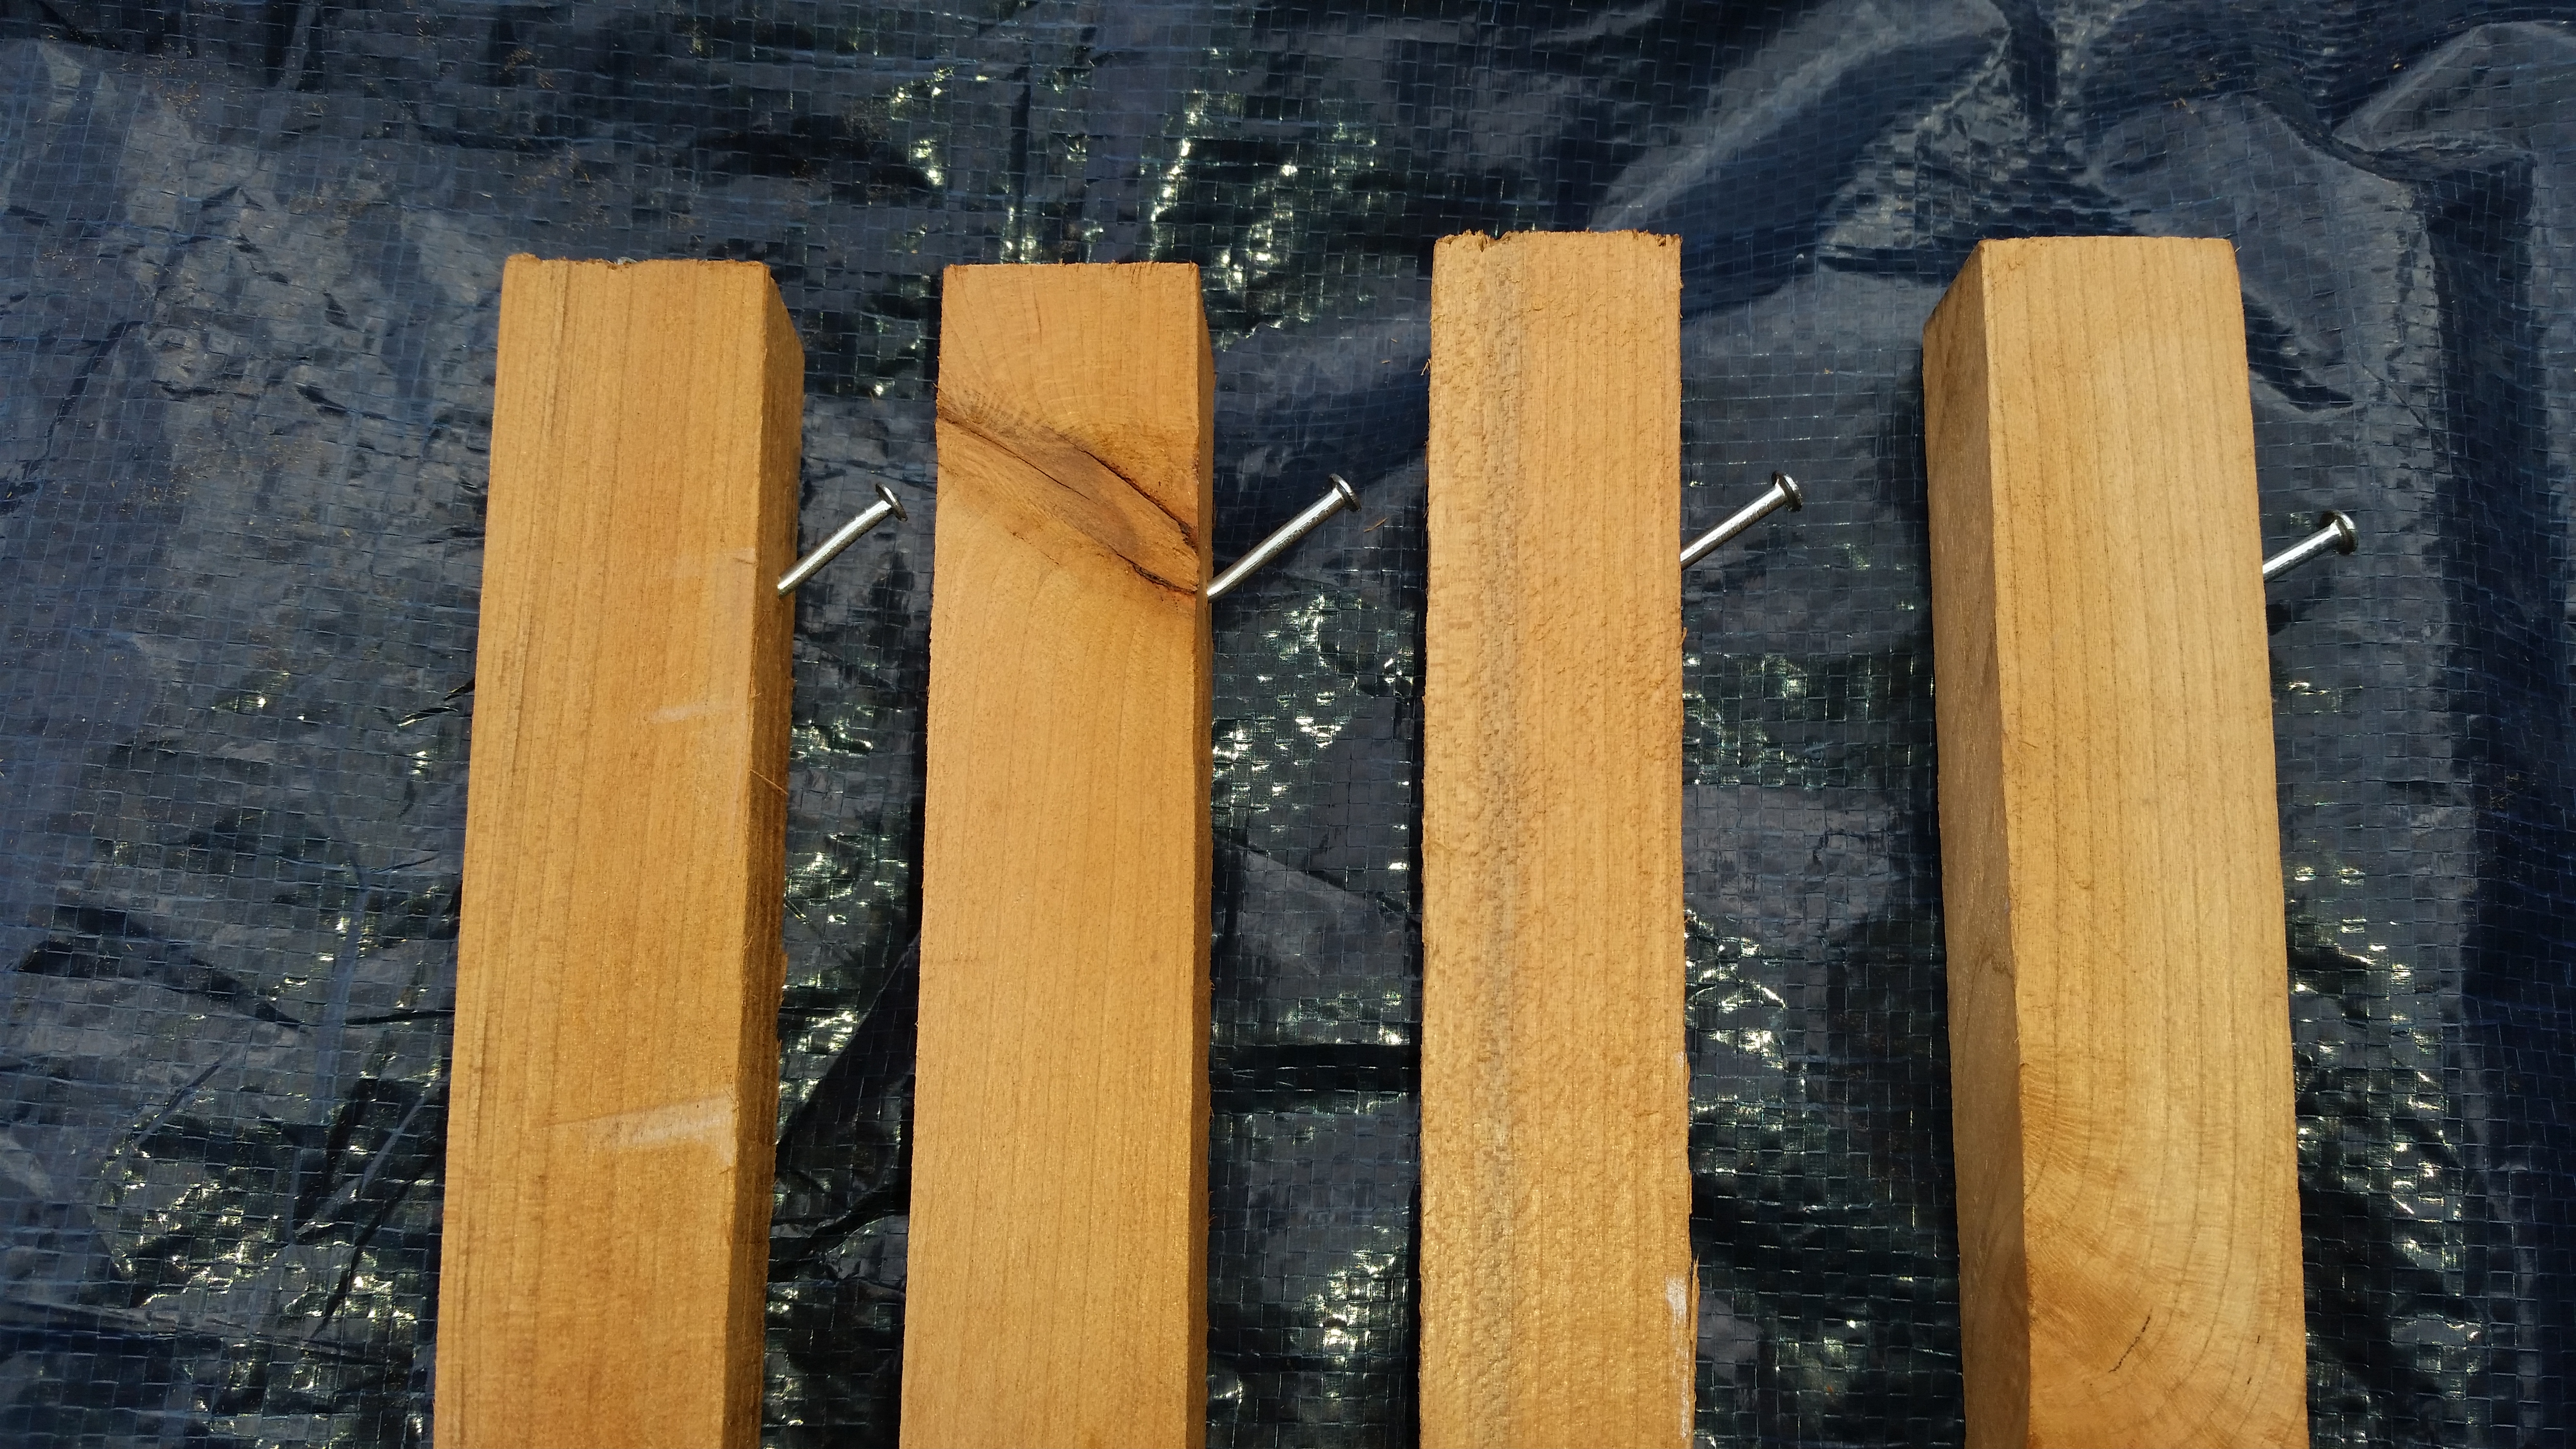
I went to Ace Hardware and purchased 4 4ft wooden stakes, a rubber mallet, cable ties and a 25ft long by 3ft tall plastic black mesh fencing. However, unless a hardware store is a stone’s throw away from your house, do not go searching for one. You could just click here to get some right to your doorstep. Anyway, I would have preferred metal stakes or rebar but 4ft length was difficult to find, hence the wooden stakes. But wood does add a nice natural touch to the composter. Also, I was going to use chicken wire but felt the black mesh looked better. It really depends on what you like that should influence you on what to buy but you do need the some basics. I already had a tarp, hammer and nails and was glad to add a rubber mallet to my collection.
Before I got started with the pit area, I hammered a nail into each stake about an inch from the top. I then curved the nail upward in order for the mesh fencing to have something to hang onto. I also measured a foot up from the bottom to give me a guide for how deep to knock the stakes into the ground.
I measured out a 3ft by 4ft space in the compost pit, marking it with some gravel. My compost pit had a indention in the middle of it so I took some of the remaining dirt form the gravel walkway I’d dug and leveled off the indention. Using my rubber mallet, I simply knocked in each stake about a foot deep, giving me 3ft above ground and made sure they were secure with little budge. Wooden stakes look good but are a pain to knock into the ground so if you want to make this part easy, I suggest using metal stakes or rebar. Another way to make knocking in wooden stakes easier is to wet the ground a little to soften it up.
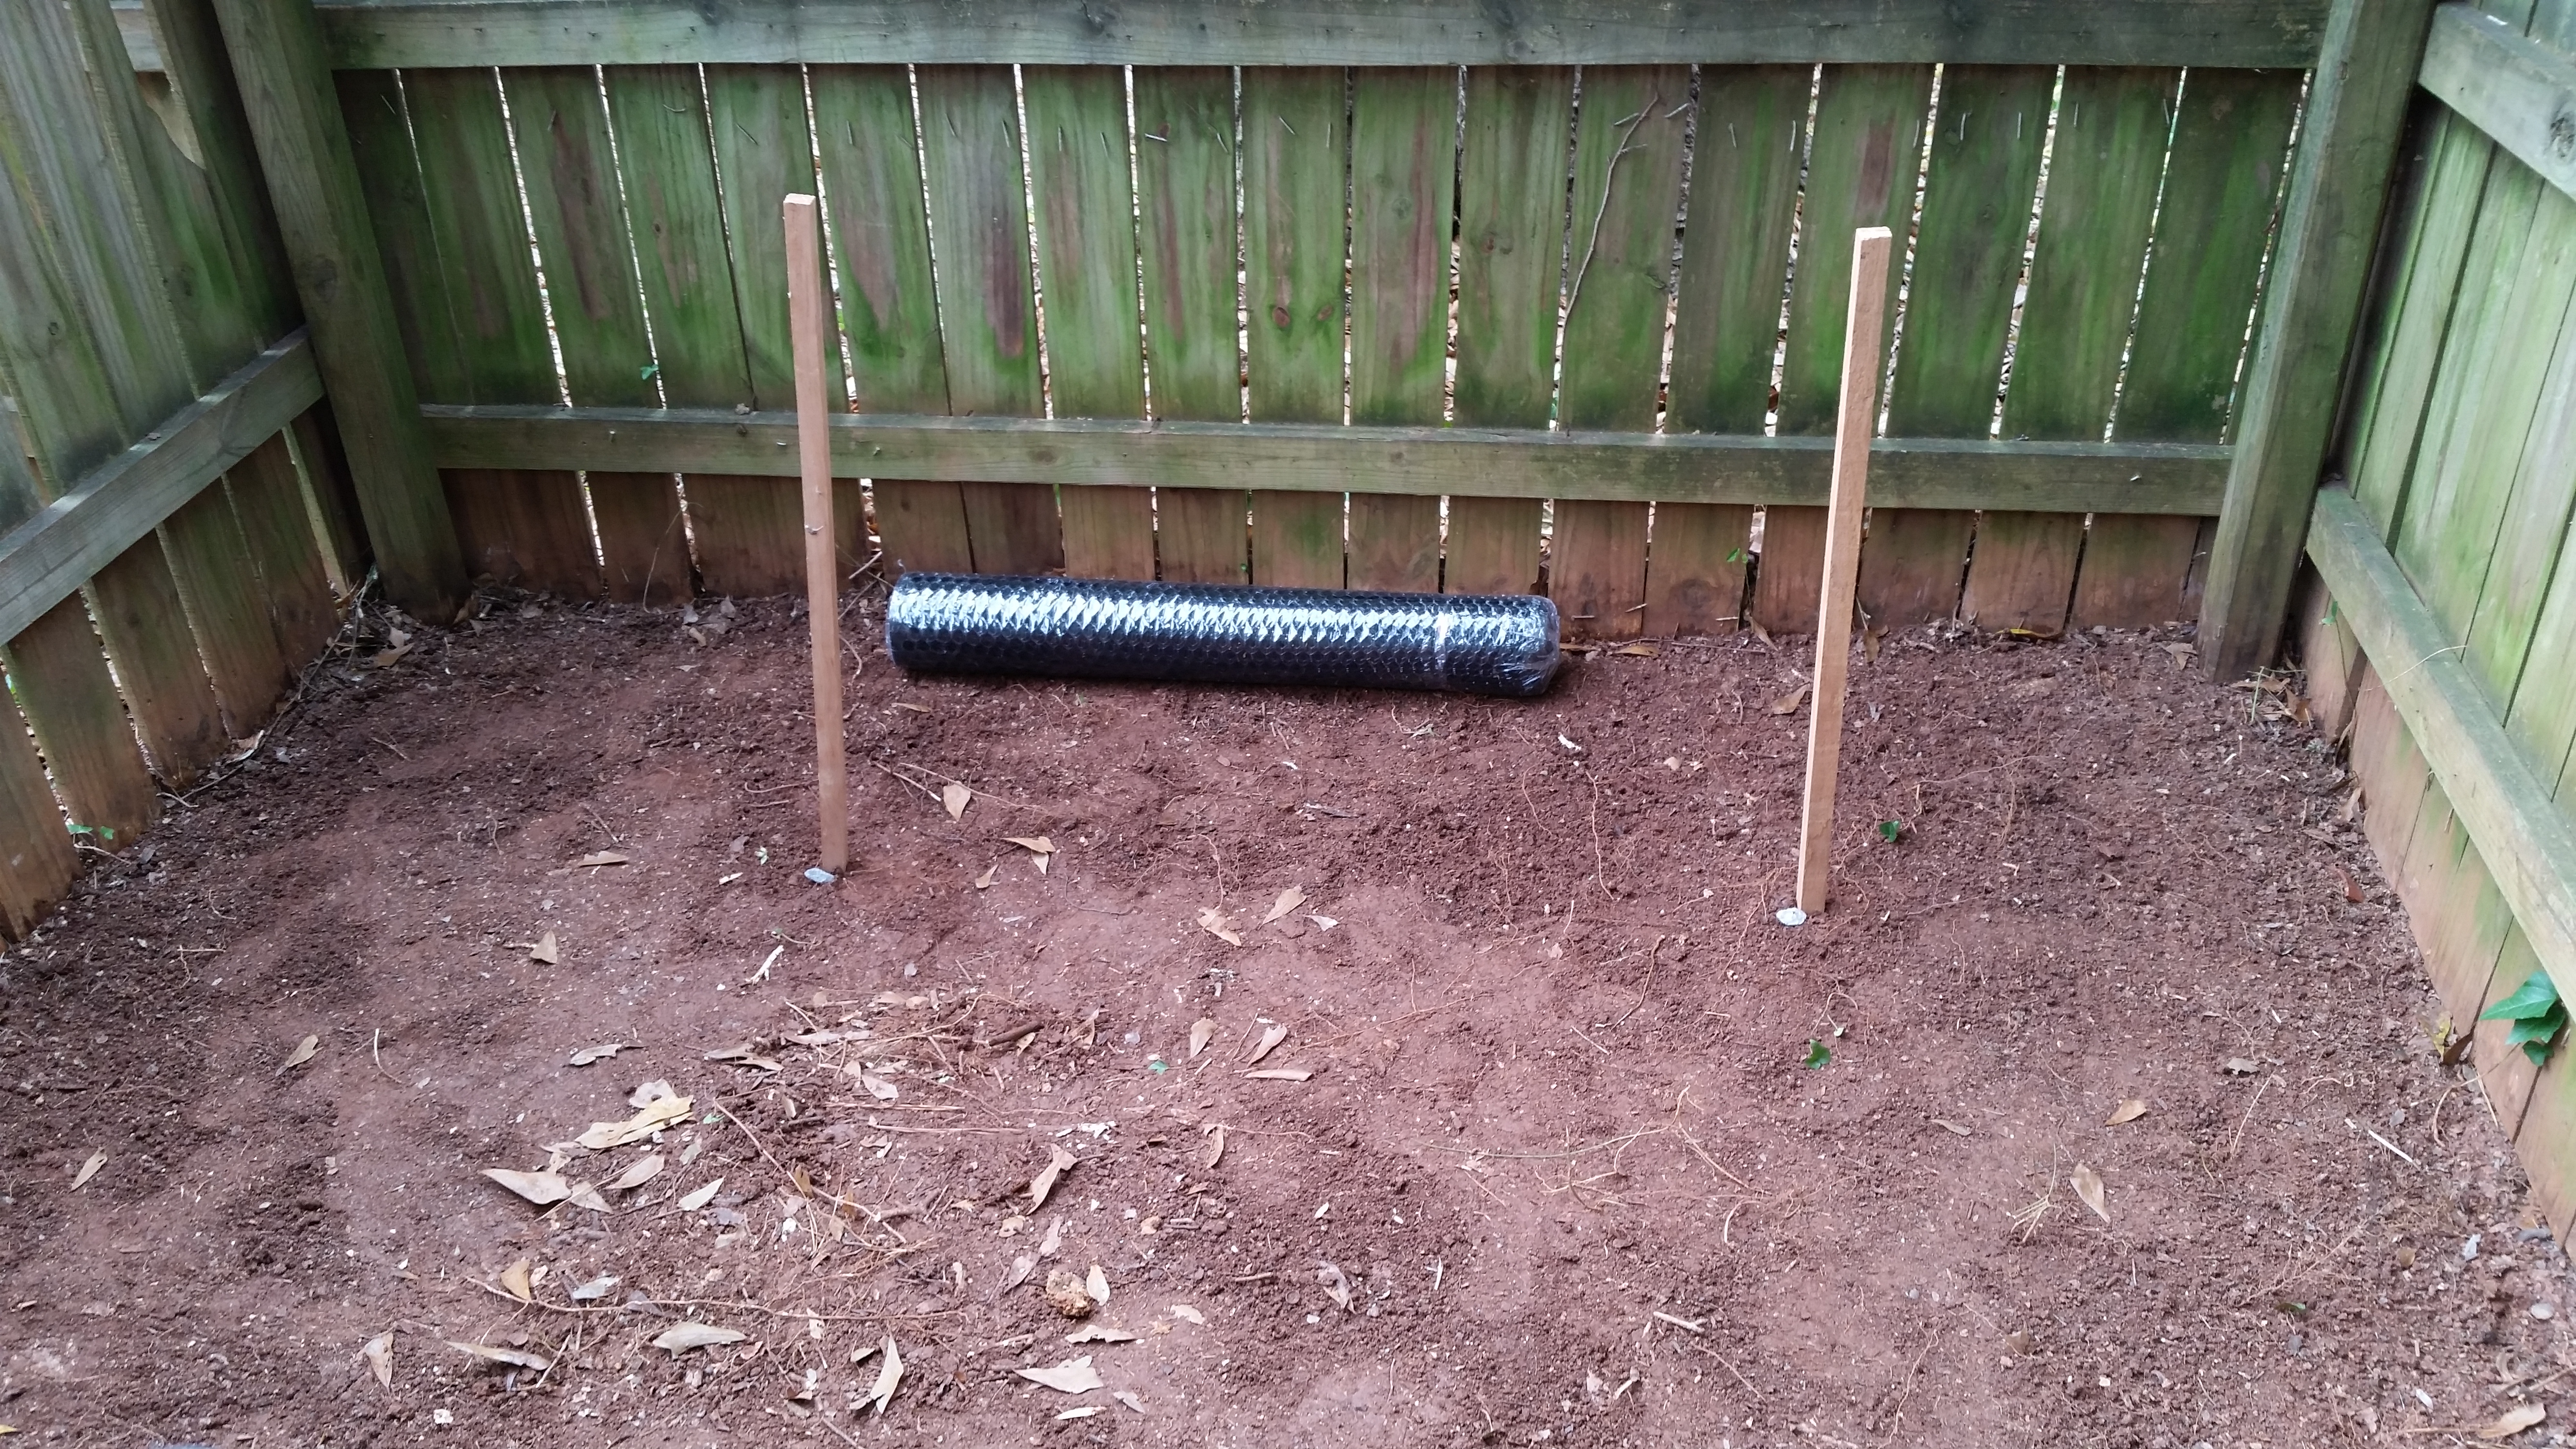

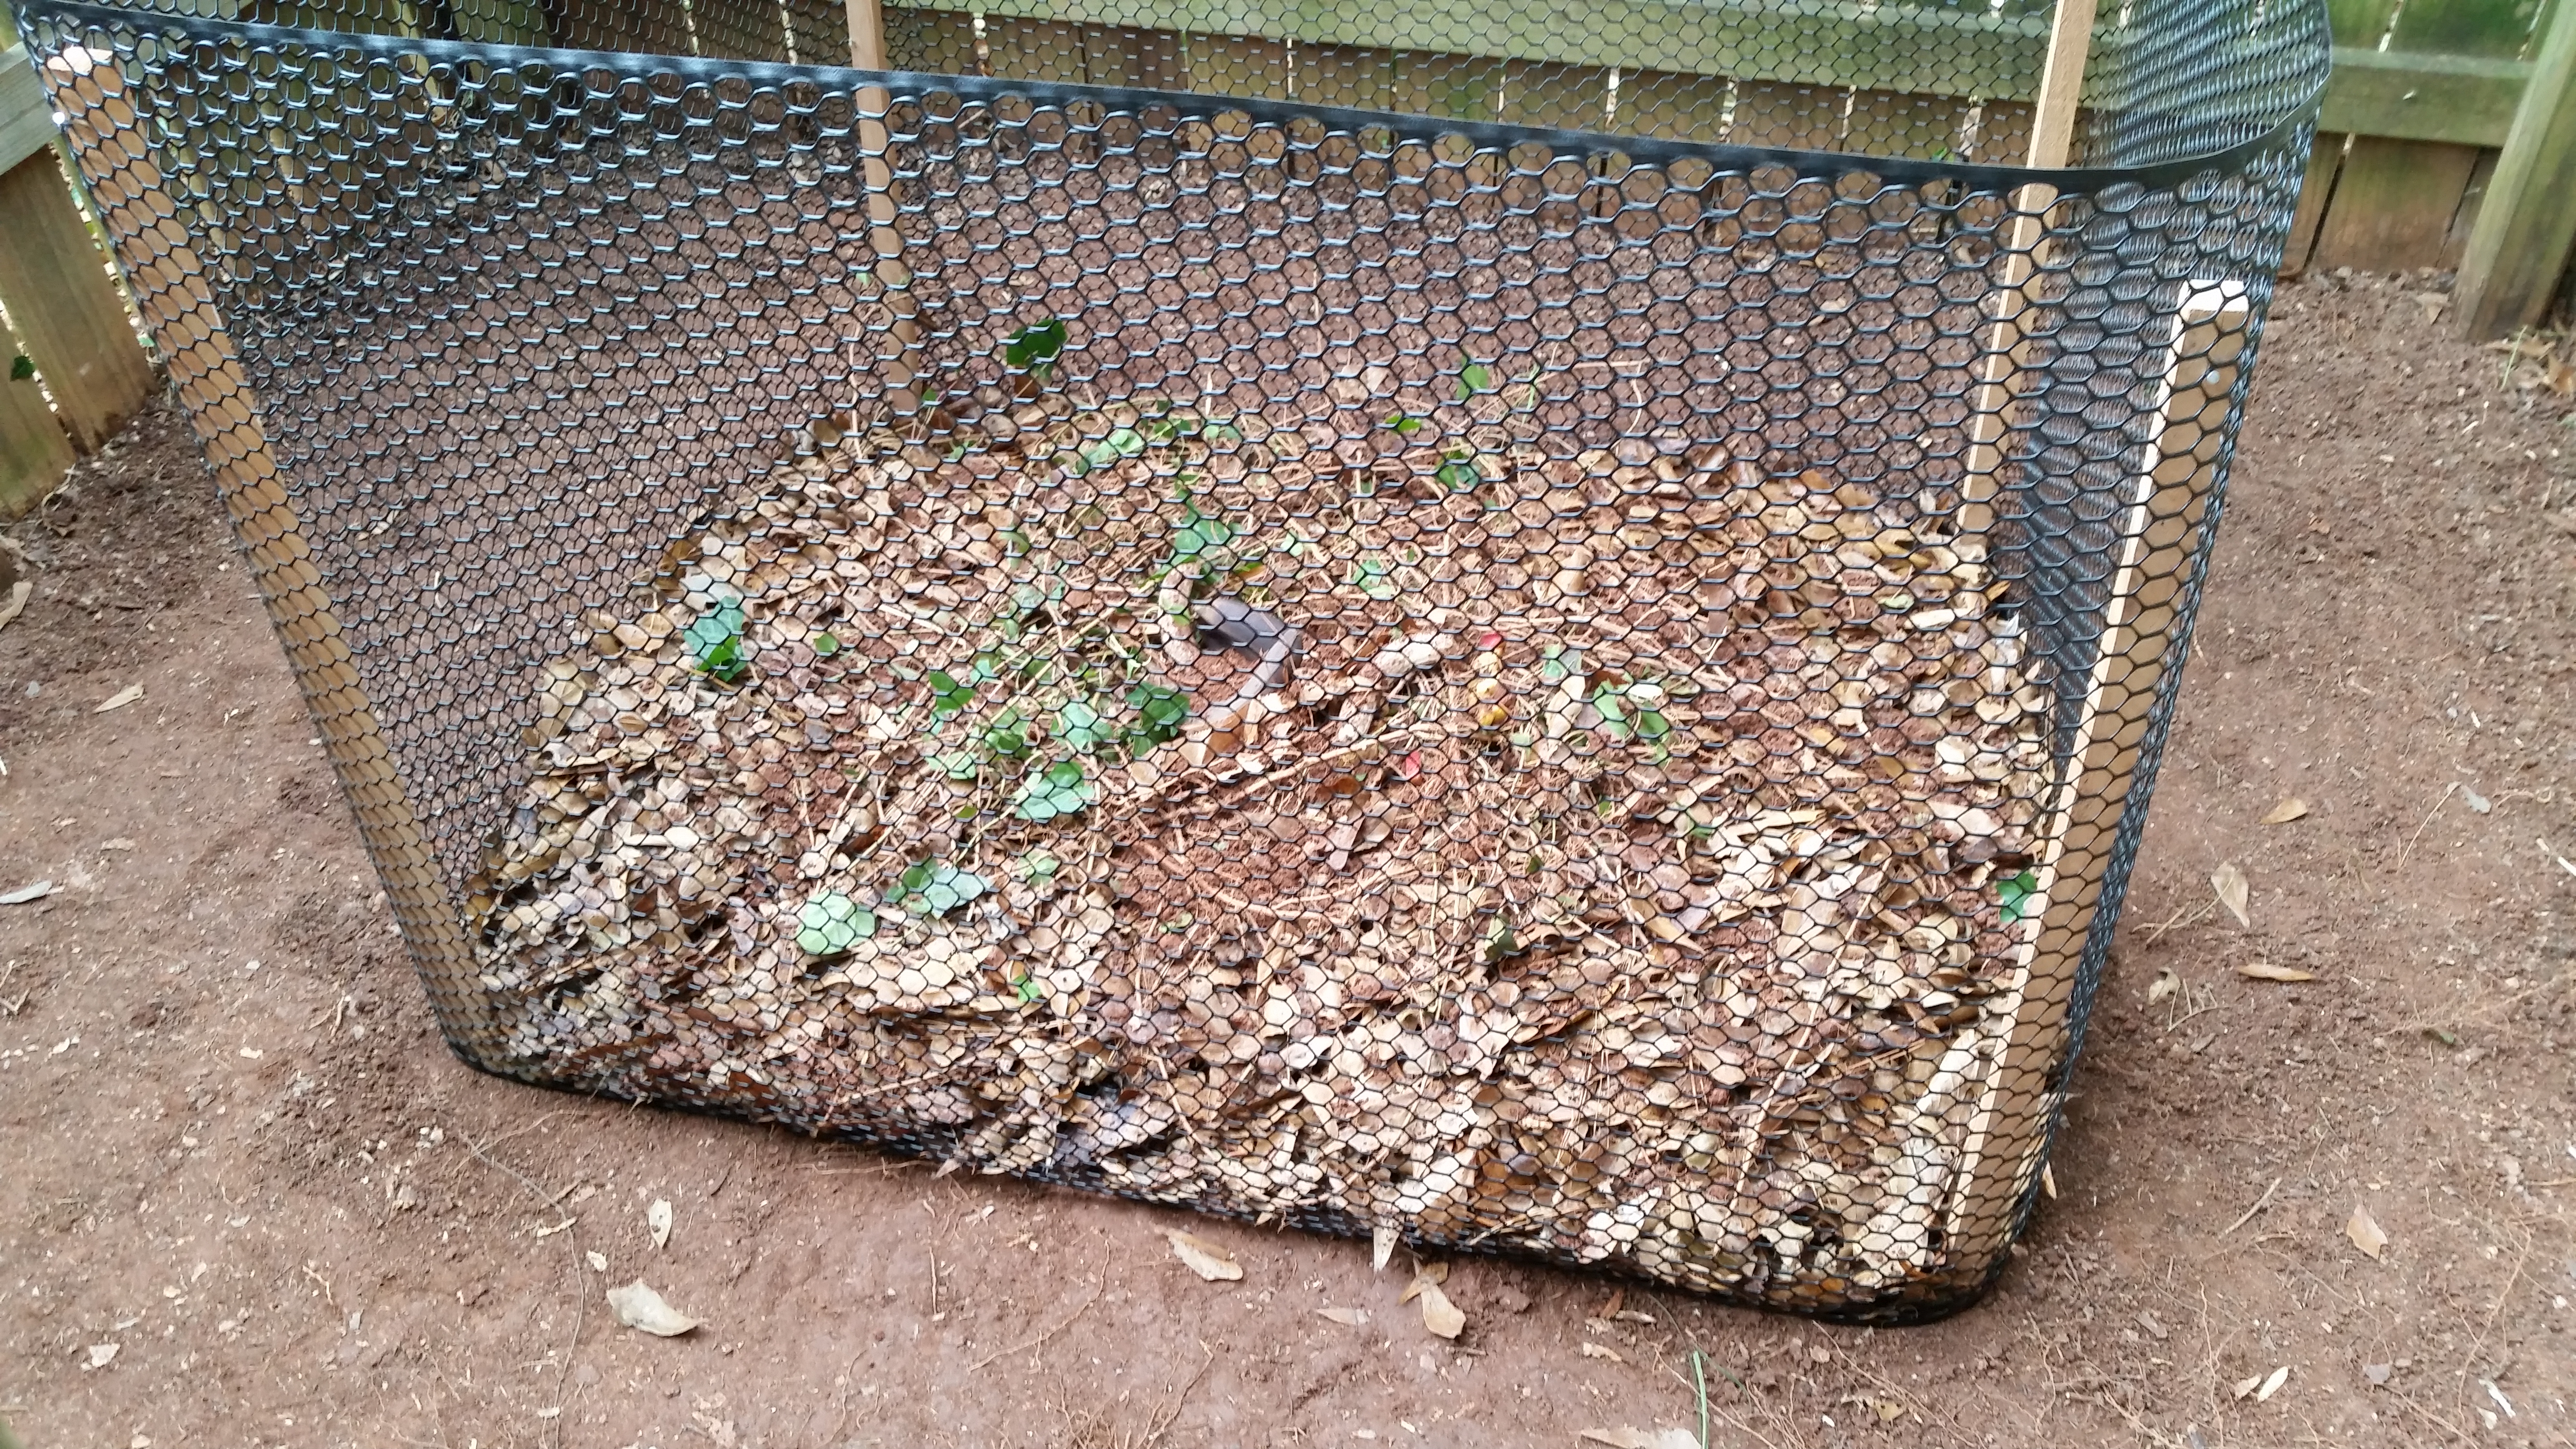
After placing my stakes in the ground, I then wrapped the black mesh fencing around the outside of the stakes, hooking them onto the nails. You can use more than one nail per post if you like but I went with just one. My fencing with a little above the post but that’s ok. It’s important to use mesh fencing or chicken wire because you need to aerate the compost bin about once a week. I have a metal rake and I’ll turn over the compost heap with that for now. Once my compost heap gets to about 3 ft tall, I’ll start using a pitchfork.

Finally, I used the cable ties to secure the end of the mesh fencing. Again, you can use whatever method you choose but the fencing has to be secured to prevent spillage from your compost heap.

In out new backyard, we have a TON of fallen leaves so for now, I have an infinite supply of brown compost material to add to my heap. We don’t have any grass as of yet but we have plenty of shrubs, fruits, vegetables, coffee grounds and other organic material we can add in order to get this compost heap started. NO ANIMAL PRODUCTS are to used in your composter, including leftover meats or animal fats. In doing research for out composter, it was interesting to hear some of the things I can add to the compost heap such as gerbil bedding, Christmas Trees and human urine! Don’t worry, I’m not adding any of that stuff to my compost heap but still interesting to hear. I placed my blue tarp over the compost bin to help keep out any falling debris or curious critters.

By building our composter now, we are hoping to have some great organic compost to start our garden with in the spring. It takes about 4 to 6 weeks to start seeing results to your compost heap and that all depends on what you add to it. Some things take longer to break down so be wary of what you add to your heap. A great website I’ve found that will help you decide what can go in your compost heap is Can I Compost This? They have lots of helpful information on stuff you can and can not place in your composter.
I also found this really interesting article over at Love to Know. It explains some of the beneficial reasons of starting your own compost heap as well as debunking some negative thoughts.
I want to give a special shoutout to my friend Randy Powers over at Practical Tactical for all his words of wisdom in creating our composter.
More to come!
Mike